
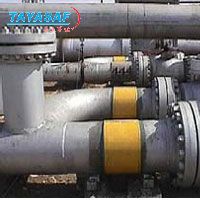
LP钢管支架系统
| 订货号: | MM-80697-00 |
| 产地: | 美国 |
| 品牌: | |
| 开发编号: | N |
| 市场价: | ¥ |
| *此产品根据配置不同价格不同 |
| *此价格为参考价格,具体价格以订单合同为准 |
- 我在现场:
- 产品视频:

- 产品描述
- 技术参数
- 技术文档
- 相关产品
- 明细价格
- 购买流程
产品描述:
Overview
The Clock Spring® Pipe Support (PS) System provides effective protection at support or hanger locations. It can be applied quickly and easily. No special tools or training are required.
Clock Spring® PS consists of a high-strength corrosion resistant fiberglass composite sleeve, a high performance adhesive, and a filler material.
The fiberglass composite sleeve is uniquely coil-shaped and sized to wrap tightly around pipe diameters from 3/4” to 36” providing two (2) individual layers bonded together resulting in a laminate thickness of approximately 1/8”.
Clock Spring® repairs are fast, economical and easy. Since no cutting or welding is required, there are no risks to the environment, release of greenhouse gases or waste disposal problems.
It’s simply the smartest pipeline repair decision you can make!
Specifications
Sleeve Specifications
Use, Designed as full encirclement wrap to provide wear surface and eliminate crevice corrosion at pipe support interface. May be used on pipe with less than 30% thru-wall loss.
Standard Configuration, 2 layers
Nominal Thickness, 1/8" (3 mm)
Application Temperature, 0°F to 120°F (-18°C to 49°C)
Service Temperature, -20°F to 130°F (-29°C to 54°C)
(For temperatures below -20°F (-29°C) contact CCP)
(For temperatures below -20°F (-29°C) contact CCP)
Material, Fiberglass and Polyester Resin
Width, 11.500" ± 0.500" (292 mm ± 13 mm)
Adhesive Specifications
Lap Shear Strength, > 1200 psi
Shelf Life, 12 months from Date of Manufacture
Filler Specifications
Compressive Strength, > 8000 psi
Shelf Life, 12 months from Date of Manufacture
Activator Specifications
Shelf Life, 12 months from Date of Manufacture.
(Note: Refrigeration at 38° - 52°F (3° -11°C) will extend material shelf life by an additional 3 months)
Installation
(Note: Refrigeration at 38° - 52°F (3° -11°C) will extend material shelf life by an additional 3 months)
Installation
Clock Spring Pipe Supports typically consist of two concentric wraps of the Clock Spring® composite shell. The shell is in the form of a split sleeve, with a circumference slightly smaller (0.063-inches (1.5 mm) than the pipe being protected. Each shell will fit around the pipe leaving a slight longitudinal gap. Each layer of the Pipe Support will be applied such that the longitudinal seams are staggered from the longitudinal seams of the preceding layer.
Clean the pipe surface to be protected, removing all scale, loose debris, products of corrosion, and residual pipe coating. The surface should contain a slight anchor pattern as specified in the NACE #3 Surface Finish standard. Sand blasting the pipe surface is recommended. Wire brushing alone is not an acceptable surface preparation. If wire brushing is used to clean the pipe surface, an anchor pattern should be applied using an appropriate sanding disk.
Carefully inspect the pipe dents, gouges, scrapes and corrosion. Any damaged areas will be evaluated using appropriate NDE techniques.
The filler material is a Methacrylate adhesive consisting of a paste and an activator. The filler and activator will be mixed according to the pipe temperature. Refer to the chart on the Filler tube for the proper mix ratio. Table 2 below is provided for reference only. Mix the filler and activator for 3 minutes until the mixture is uniform in color and completely mixed.
Apply filler material to all voids under the repair.
The adhesive is a Methacrylate consisting of an adhesive and activator. The mix ratio will depend on the application temperature. Refer to the chart on the Adhesive container for the proper mix ratio. Table 1 is provided below for reference only. The mix ratio, ambient air temperature and pipe temperature will all affect the working time available before the adhesive cures.
Determine the correct mix ratio. Mix adhesive and activator according to standard Clock Spring procedures.
Liberally apply the mixed adhesive to the filler material and pipe surface to be protected.
Apply the first concentric sleeve over the filler and adhesive.
Apply filler material to the longitudinal seam of the first wrap and adhesive to the surface of the first wrap.
Applying adhesive between each layer, apply subsequent layers of composite sleeves with the longitudinal seam positioned away from the longitudinal seams on the underlying layer.
Continue the installation process until the entire support is complete and all layers are in place.
Using the band clamps supplied, tighten the repair onto the pipe. The band clamps are spaced evenly along the repair and tightened from the center out to each end. Clean excess adhesive and filler material.
When the adhesive has fully cured, remove the clamps and coat the support area with a protective coating
技术参数:

泰亚赛福作为众多知名品牌的合作伙伴,优惠的价格+完善的售后服务体系向您提供产品。font>

泰亚赛福作为众多知名品牌的合作伙伴,优惠的价格+完善的售后服务体系向您提供产品。font>
技术文档:

泰亚赛福作为众多知名品牌的合作伙伴,优惠的价格+完善的售后服务体系向您提供产品。font>
- 在线浏览:
- 文档下载:

泰亚赛福作为众多知名品牌的合作伙伴,优惠的价格+完善的售后服务体系向您提供产品。font>
相关产品:

泰亚赛福作为众多知名品牌的合作伙伴,优惠的价格+完善的售后服务体系向您提供产品。font>
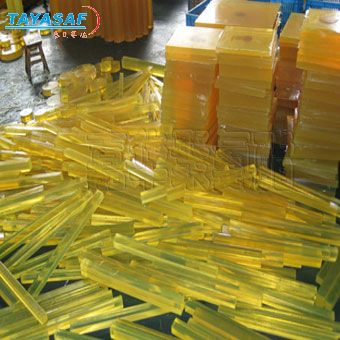 聚氨酯胶版订货号:MM-16155-00
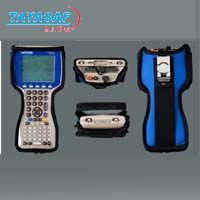 设备保护袋订货号:MM-80682-00
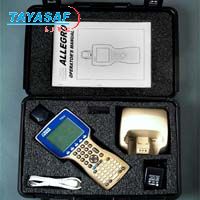 设备保护箱订货号:MM-80683-00
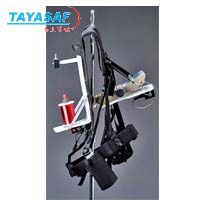 MI调查包订货号:MM-80684-00
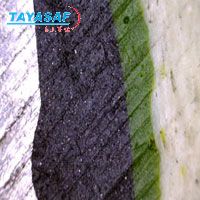 Syntho-XT玻纤复合系统订货号:MM-80685-00
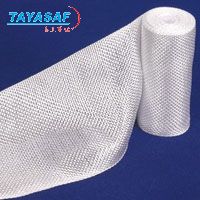 Syntho玻纤复合系统订货号:MM-80686-00
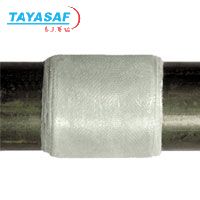 现场天然气修理包订货号:MM-80687-00
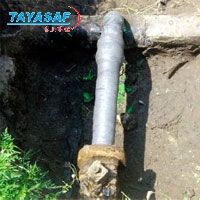 加固修理包订货号:MM-80688-00
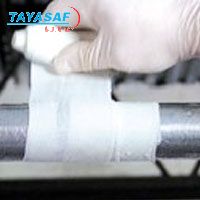 联合及裂纹修理包订货号:MM-80689-00
 非承压管联合及裂纹修理包订货号:MM-80690-00
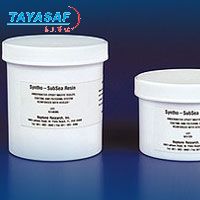 Syntho-Subsea™环氧涂料订货号:MM-80691-00

泰亚赛福作为众多知名品牌的合作伙伴,优惠的价格+完善的售后服务体系向您提供产品。font>
明细价格:

泰亚赛福作为众多知名品牌的合作伙伴,优惠的价格+完善的售后服务体系向您提供产品。font>
| 定货号 | 产品名称 | 规格配置 / 简介 | 市场价/(会员价) |
|---|---|---|---|
| MM-80697-00 | LP钢管支架系统 | /() |

泰亚赛福作为众多知名品牌的合作伙伴,优惠的价格+完善的售后服务体系向您提供产品。font>
购买流程:

泰亚赛福作为众多知名品牌的合作伙伴,优惠的价格+完善的售后服务体系向您提供产品。font>
①购买产品:点击“生成订单”→填写产品数量、联系方式并提交→会员顾问订单处理→合同签订。
②咨询产品:请联系会员顾问或致电会员客服电话。
③如果您还不是我们的会员,请先注册。
④最小起订数量:1
注意:本产品唯一个人现金委托收款人,如汇入其它个人账户本公司不承担任何责任
维护担当:
上线时间:
投诉电话:13801126385 13911302309
②咨询产品:请联系会员顾问或致电会员客服电话。
③如果您还不是我们的会员,请先注册。
④最小起订数量:1
注意:本产品唯一个人现金委托收款人,如汇入其它个人账户本公司不承担任何责任
维护担当:
上线时间:
投诉电话:13801126385 13911302309
联系方式
电话北京:400-000-1836 分机 或拨0转总机
上海:021-54248686 分机 或拨0转总机
上海:021-54248686 分机 或拨0转总机
传真北京:010-84852750/84854139
上海:021-64418200
上海:021-64418200

泰亚赛福作为众多知名品牌的合作伙伴,优惠的价格+完善的售后服务体系向您提供产品。font>
您最近浏览的商品


 美国MI
美国MI


